How to Use Leonardo AI for Beginners (Step by Step Guide 2026)
Want to learn how to use Leonardo AI but don’t know where to start? You are in the right place. Leonardo AI is one of the most powerful free AI image generators in 2026 — and it is surprisingly easy once you know the steps. This complete Leonardo AI tutorial for beginners covers everything: creating your free account, generating your first image, choosing the right model, writing better prompts, and getting professional results without spending a single dollar. By the end of this how to use Leonardo AI guide, you’ll be generating stunning images in minutes.
📋 Table of Contents
- What is Leonardo AI?
- How to Use Leonardo AI: Step 1 — Create Your Free Account
- Step 2 — Understand the Dashboard
- Step 3 — How to Use Leonardo AI: Generate Your First Image
- Step 4 — Choose the Right AI Model
- Step 5 — Key Settings Explained
- Step 6 — Write Better Prompts
- Step 7 — Download Your Image
- Pro Tips for Better Results
- Frequently Asked Questions
What is Leonardo AI?
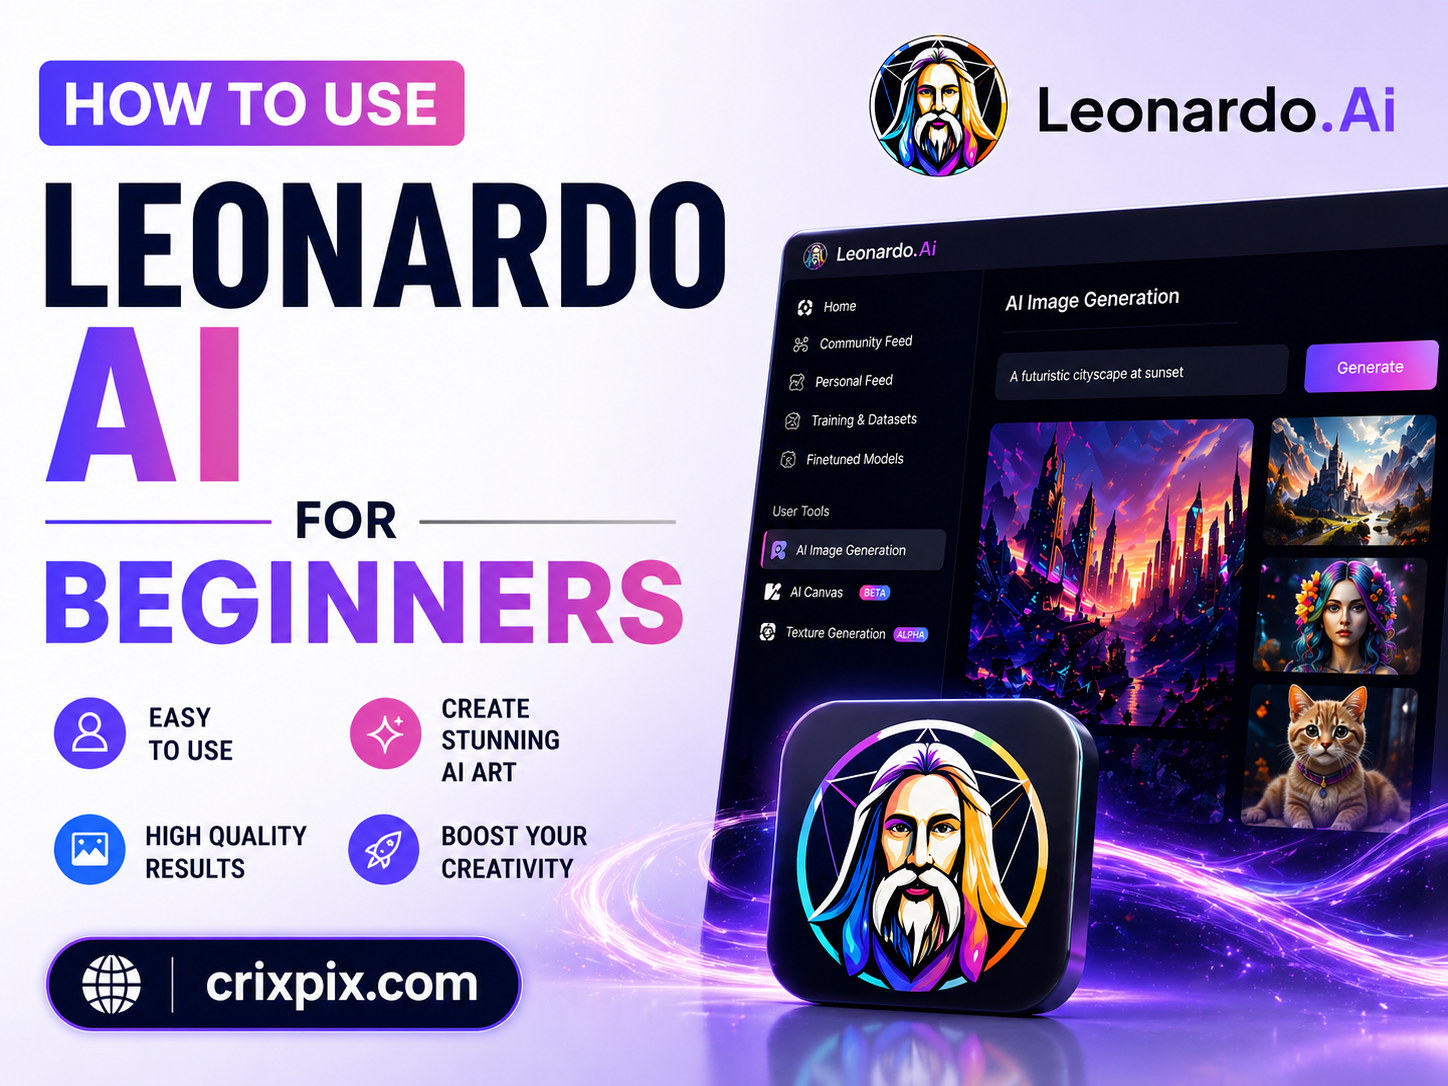
Leonardo AI is a browser-based AI image generation platform that turns text descriptions into high-quality images in seconds. Unlike basic AI image tools, Leonardo gives you real creative control — multiple AI models, fine-tuned style presets, an image editor, and advanced settings that let you shape exactly what the output looks like.
Image Generation Image Editing AI Video Image Upscaling Canvas Editor
It is ideal for digital artists, content creators, social media managers, bloggers, and complete beginners. No design experience needed — if you can describe what you want, Leonardo AI can create it.
How to Use Leonardo AI: Step 1 — Create Your Free Account
Sign Up at leonardo.ai
- Open your browser and go to leonardo.ai
- Click the “Get Started Free” button on the homepage
- Sign up using your Google account, Apple ID, or email address — all are free
- Verify your email if you signed up with email
- Complete the quick onboarding questions — takes about 30 seconds
- You are now inside the dashboard with 150 free tokens ready to use
Step 2 — Understand the Leonardo AI Dashboard
When you first log in, the dashboard can look overwhelming. Here is a quick breakdown of each section:
- Home — Featured guides and recent community images for inspiration
- Image Creation — Where you generate images. You will spend most of your time here
- Canvas — An advanced editor for refining and extending your generated images
- Personal Feed — All your generated images saved in one place
- Community Feed — Browse what other users created and see their exact prompts. A goldmine for learning
- Token Counter — Shows your remaining free tokens for today, top right corner
Step 3 — How to Use Leonardo AI: Generate Your First Image
Create Your First AI Image
- Click “Image Creation” in the left sidebar
- Find the prompt bar at the top of the screen
- Type a description of the image you want to create
- Review the settings on the left panel (model, style, dimensions)
- Click the orange “Generate” button on the right side
- Wait 5 to 15 seconds — your images appear below the prompt bar
- Each generation uses tokens from your daily free allowance
Here is a beginner-friendly prompt you can copy and try right now:
Step 4 — Choose the Right AI Model
Leonardo AI’s biggest advantage is its multiple AI models. Each model is trained differently and produces a distinct image style. Picking the right model makes a huge difference. Here are the most important ones in 2026:
| Model | Best For | Beginner Friendly? |
|---|---|---|
| Phoenix 1.0 ⭐ | Best all-rounder — photorealistic photos, accurate prompt following, text in images | ✅ Yes — start here |
| Leonardo Diffusion XL | High-quality realistic images, portraits, landscapes | ✅ Yes |
| Anime Pastel Dream | Anime-style illustrations and character art | ✅ Yes |
| DreamShaper v7 | Fantasy art, concept art, digital illustrations | ✅ Yes |
| Alchemy v4 | Professional hyper-realistic images with fine detail | ⚠️ Intermediate |
Step 5 — Key Settings Explained
In the left panel inside Image Creation, you will find several settings. Here is what each one means and what to set as a beginner:
- AI Preset — Sets the general look: Cinematic, Anime, Photography, Illustration, or None. Pick what matches your goal.
- Generation Mode — Fast uses fewer tokens but lower quality. Quality uses more tokens but better results. Choose Quality for important images.
- Image Dimensions — The aspect ratio. Use 1:1 for social posts, 16:9 for YouTube thumbnails, 9:16 for phone wallpapers.
- Number of Images — How many variations per prompt. Set to 2 to save tokens while still getting options to compare.
- Negative Prompt — Tell the AI what you do NOT want. Very powerful for removing common AI mistakes like blurry images or extra fingers.
Step 6 — How to Write Better Prompts
The quality of your images depends 80% on how well you write your prompt. Most beginners get vague results because their prompts are too short. Here is how to fix that.
The Simple Prompt Formula
Real Examples — Bad vs Good
Power Words to Add to Any Prompt
- Quality: 4K, ultra HD, highly detailed, sharp focus, masterpiece
- Lighting: golden hour, studio lighting, dramatic lighting, soft natural light, backlit
- Style: photorealistic, cinematic, oil painting, watercolor, anime, concept art
- Camera feel: shallow depth of field, bokeh, wide angle lens, close-up portrait shot
Step 7 — Download Your Image
Save Your Generated Image
- Once your image appears, hover over it with your mouse
- Click the download icon (downward arrow) that appears on hover
- Your image downloads as a PNG file — clean, high quality, no watermark
- Alternatively click the image to open full preview, then right-click to save
- All your images are also auto-saved in your Personal Feed
Pro Tips to Get Better Results on Leonardo AI
- Save prompts that work. When you get a great image, copy the prompt to a notes file. Over time you will build a powerful personal prompt library.
- Mine the Community Feed daily. Every image shows the exact prompt used. Browse it to discover what settings and prompt styles produce the best results.
- Generate 2 images per prompt, not 4. This saves your daily tokens. If you like one result, generate 2 more variations of that. If neither works, rewrite the prompt first.
- Use Flow State when you are stuck. This mode generates many quick visual ideas from a single prompt — perfect when you have a vague concept and need direction.
- Put text in quotes for Phoenix model. If your image needs readable words like a sign or poster title, use Phoenix model and enclose the exact words in double quotes: “Morning Brew”
- Use Image Guidance for consistent style. Upload a reference image and Leonardo will match its style, mood, or subject. Perfect for creating consistent visuals across a series of posts.
Frequently Asked Questions
Is Leonardo AI completely free to use?
Yes. Leonardo AI offers a free plan with 150 tokens per day that reset every 24 hours. This is enough for 15 to 30 image generations daily depending on your settings. No credit card is required to sign up.
How many images can I generate free on Leonardo AI per day?
You get 150 free tokens daily. Each image generation costs roughly 5 to 10 tokens depending on quality and model. This means approximately 15 to 30 free images per day on the free plan.
Which Leonardo AI model is best for beginners?
Phoenix 1.0 is the best model for beginners in 2026. It follows your prompt with about 95% accuracy, produces photorealistic results, and handles text inside images better than most other models. Start with Phoenix 1.0 and explore other models once you are comfortable.
Does Leonardo AI add watermarks to images?
No. Leonardo AI does not add watermarks to images generated on the free plan. All downloaded images are clean PNG files. Always check Leonardo’s current terms of service for commercial use rules before publishing images publicly.
How is Leonardo AI different from Midjourney?
Leonardo AI is more beginner-friendly than Midjourney. It has a free daily token allowance, a visual web dashboard, and built-in editing tools. Midjourney produces more stylized artistic results but requires a paid subscription starting at $10 per month. Leonardo AI is the better starting point for beginners in 2026.
Can I use Leonardo AI images for commercial use?
Generally yes, Leonardo AI allows commercial use of images created on the platform. However, always review their latest terms of service for any restrictions, especially if you are using images in paid client work or selling them.
🚀 Ready to Try Leonardo AI?
Go to leonardo.ai, sign up free, and generate your first image in under 2 minutes. Bookmark CrixPix for daily guides on the best AI tools — tested and explained in plain English.
Read – Best Free AI Image Generator